How to Screen Record on Mac (2026): With Audio, Step by Step
Vorec Team · 2026-11-02 · About 12 min read
To screen record on a Mac running macOS Mojave 10.14 or later, press Shift-Command-5. The Screenshot toolbar opens at the bottom of the screen. Pick Record Entire Screen, Record Selected Window or Record Selected Portion, open Options to choose a microphone, then click Record (for a single window, click the window instead). Press Command-Control-Esc, or click the Stop button in the menu bar, to finish. The video is saved as a .mov file to the location set in Options, which is the desktop by default.
That covers most people. Mac recording gets confusing at three points: QuickTime seems to have its own recorder, some options only show up on newer macOS versions, and recording the Mac's own sound used to be impossible without extra software. This guide goes through each one, using Apple's How to record the screen on Mac article (published 14 September 2026) and the macOS User Guide, both checked on 27 October 2026. The steps are the same on a MacBook Air, a MacBook Pro, an iMac or a Mac mini running the same macOS version.
Quick reference
| You want to | Do this |
|---|---|
| Open the recording tools | Shift-Command-5, or search "Screenshot" in Spotlight |
| Record everything on screen | Record Entire Screen, then Record |
| Record one app window | Record Selected Window, then click the window (macOS Tahoe 26 or later) |
| Record part of the screen | Record Selected Portion, drag the frame, then Record |
| Record your voice | Options > choose a microphone |
| Record the Mac's own sound | Options > Include System Audio (macOS 27 Golden Gate or later) |
| Show your clicks | Options > Show Mouse Clicks |
| Stop | Command-Control-Esc, or Stop in the menu bar |
| Cancel before you start | Esc |
| Find the file | Desktop by default (change it in Options > Save to), named "Screen Recording [date] at [time].mov" |
Step 1: Open the Screenshot toolbar
Press Shift, Command and 5 together. A toolbar appears near the bottom of the screen. It's an app called Screenshot, and it handles both still screenshots and screen recordings on current versions of macOS. You can also open it by searching for "Screenshot" in Spotlight.
The toolbar arrived with macOS Mojave 10.14. Apple's Mojave guide is the earliest version that lists Shift-Command-5; the High Sierra guide covers keyboard screenshots only, with no screen recording.
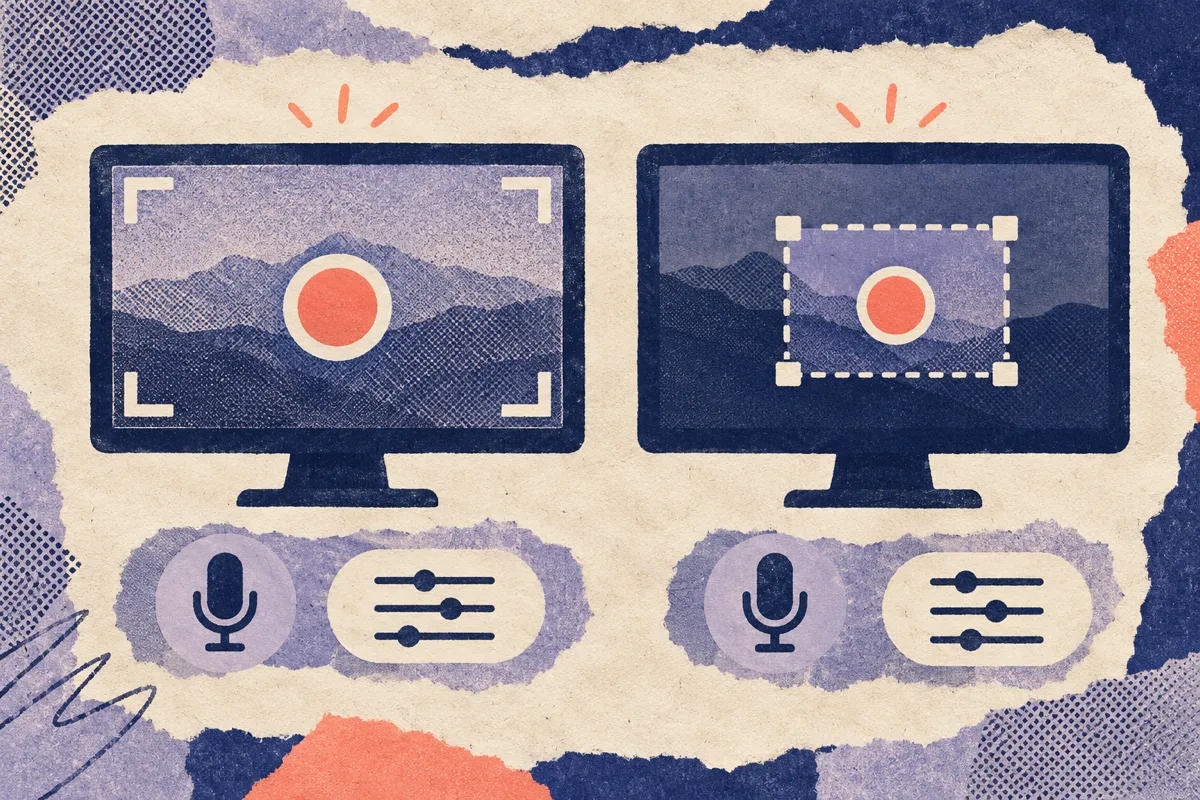
The toolbar has two groups of buttons. The first three take still images. The next three record video:
- Record Entire Screen records everything on the display.
- Record Selected Window records a single window. Apple lists this button for macOS Tahoe 26 or later, so on older versions you'll only see the other two.
- Record Selected Portion records a rectangle you choose. Drag inside the frame to move it, and drag its edges to resize it.
If you'd rather use a different shortcut, Apple lets you change it in System Settings > Keyboard > Keyboard Shortcuts > Screenshots.
Step 2: Set your options before you record
Click Options in the toolbar. Set these before you press Record; they apply to the recording you're about to make.
| Option | What it does | Version note per Apple |
|---|---|---|
| Save to | Where the file goes. Desktop by default; choose Other Location for any folder | All versions |
| Timer | Waits a set number of seconds after you click Record | All versions |
| Microphone | Records your voice or another audio input; None turns it off | All versions |
| Include System Audio | Records the sound the Mac itself plays | macOS 27 Golden Gate or later |
| Show Floating Thumbnail | Shows a preview after you stop, so you can trim or share it | All versions |
| Remember Last Selection | Reuses the last area you selected | All versions |
| Show Mouse Pointer / Show Mouse Clicks | Keeps the pointer visible; Show Mouse Clicks draws a black circle around the pointer when you click | All versions |
| Capture Format: SDR or HDR | SDR uses H.264 and is the most compatible; HDR uses HEVC | Supported Mac models on macOS Tahoe 26 or later |
Two of these are worth a closer look.
Capture format. Apple notes that HDR needs an HDR display to show its extra brightness and color. An HDR recording played on an ordinary display shows slightly reduced quality. If the video is going into a tutorial, a slide deck or a help center, SDR is the safer choice, since Apple labels it Most Compatible.
Timer. A 5 or 10 second delay gives you time to close the toolbar's menu, move the pointer away and get the right window in front before anything is captured. Without one, the first second of most recordings is someone reaching for the mouse.
Step 3: Record with sound
Mac recordings have two possible audio sources, and they're separate settings.
Your voice (microphone). In Options, choose a microphone under Microphone so a checkmark appears next to it. The built-in mic on a MacBook works, and an external USB or headset mic will show up in the same list. If macOS asks whether the app can use the microphone, allow it. To make a silent recording, choose None.
The Mac's own sound (system audio). This means a video playing in the browser, an app's alert sounds, or the other side of a call. A microphone doesn't capture that cleanly: it only hears what comes out of the speakers into the room. On macOS 27 Golden Gate or later, open Options and choose Include System Audio. Apple lists this option only for that version and later. On earlier versions, the built-in options record a microphone, not the Mac's internal sound.
Both at once. On macOS 27 Golden Gate or later, choose a microphone and Include System Audio. That's the setup for narrating over an app that also makes sound.
Not sure which version you have? Choose Apple menu > About This Mac. Apple's version guide says the window always shows the name and version number of your macOS.
For a deeper look at the audio settings and what to do when a recording comes out silent, see our guide to QuickTime screen recording with audio.
Step 4: Start and stop the recording
- Click Record in the toolbar. If you chose Record Selected Window, click the window you want instead.
- Do what you want to capture. If you set a timer, the countdown runs first.
- To stop, press Command-Control-Esc, or click the Stop button in the menu bar at the top of the screen.
To abandon a recording before it starts, press Esc. Once you've clicked Record, stopping saves what you have.
Step 5: Find, trim and share the video
After you stop, a thumbnail slides into the bottom-right corner for a few seconds (if Show Floating Thumbnail is on). While it's there you can:
- Click it to open a window where you can trim the start and end, or share the clip.
- Drag it straight into an email, a document, a note or a Finder window.
- Swipe it right to save it immediately.
If you ignore it, the file is saved to your chosen location, the desktop by default. Apple names it "Screen Recording [date] at [time].mov". You can open it in QuickTime Player, iMovie or any other app that plays video.
If the place you're uploading to only accepts MP4, check before you spend time converting.
QuickTime Player vs the Screenshot toolbar
Many guides say to record your screen with QuickTime Player. You still can: open QuickTime Player, then choose File > New Screen Recording or press Control-Command-N. What happens next depends on your macOS version.
Apple's article says that if you see the onscreen toolbar described above, the Screenshot app is doing the recording, and you follow exactly the same steps. On older versions, QuickTime opens its own small Screen Recording window instead.
| Screenshot toolbar | Older QuickTime window | |
|---|---|---|
| Open with | Shift-Command-5 | File > New Screen Recording in QuickTime |
| Record a single window | Yes, on macOS Tahoe 26 or later | Not listed by Apple |
| Microphone | Options > Microphone | Arrow next to Record > choose a microphone, plus a volume slider to monitor it |
| System audio | Options > Include System Audio (macOS 27 Golden Gate or later) | Not listed by Apple |
| Show clicks | Show Mouse Clicks | Show Mouse Clicks in Recording |
| After you stop | Thumbnail, then saved to your chosen folder | QuickTime opens the recording |
In the older QuickTime window, you click anywhere to record the full screen, or drag to select an area and click Start Recording inside it. If you monitor the mic and hear feedback, Apple suggests lowering the volume or wearing headphones.
Permissions for other recording apps
The built-in Screenshot tool works straight away. Third-party recorders, such as video-call apps, browser extensions or dedicated screen recorders, need your permission first. If one of them records a black screen or no audio, check this setting:
- Choose Apple menu > System Settings, then click Privacy & Security in the sidebar.
- Click Screen & System Audio Recording.
- Turn the switch on for the app. Apple lets you allow screen and audio, or audio only.
- If the app isn't in the list, click the + button below it and add the app.
Apple points out that what a third-party app collects is governed by its own terms and privacy policy. Some apps also refuse to be recorded at all: Apple names the Apple TV app as an example.
Common problems and fixes
There's no record button. Look at the second group of buttons in the toolbar. The first three take still screenshots. If you only see two recording buttons, your macOS is older than Tahoe 26, which added Record Selected Window.
The recording has no sound. Open Options before the next take. Check that a microphone is selected (not None). For the Mac's own sound, you need macOS 27 Golden Gate or later and Include System Audio switched on.
My voice is there, but the app's audio is missing. The microphone records the room, not the Mac. Turn on Include System Audio, if your version has it.
I can't find the file. Check Options > Save to. It may be set to a folder other than the desktop, or a tap on the thumbnail may have sent it to an app.
I can't stop the recording. Use Command-Control-Esc. The Stop button sits in the menu bar at the top of the screen, which can be hidden in full-screen apps.
One app's window comes out black. Some apps block recording, such as the Apple TV app in Apple's example. For third-party recorders, check Screen & System Audio Recording permission.
Making the recording useful as a tutorial
The built-in tools produce a clean capture. Turning that capture into something a viewer can follow takes more work.
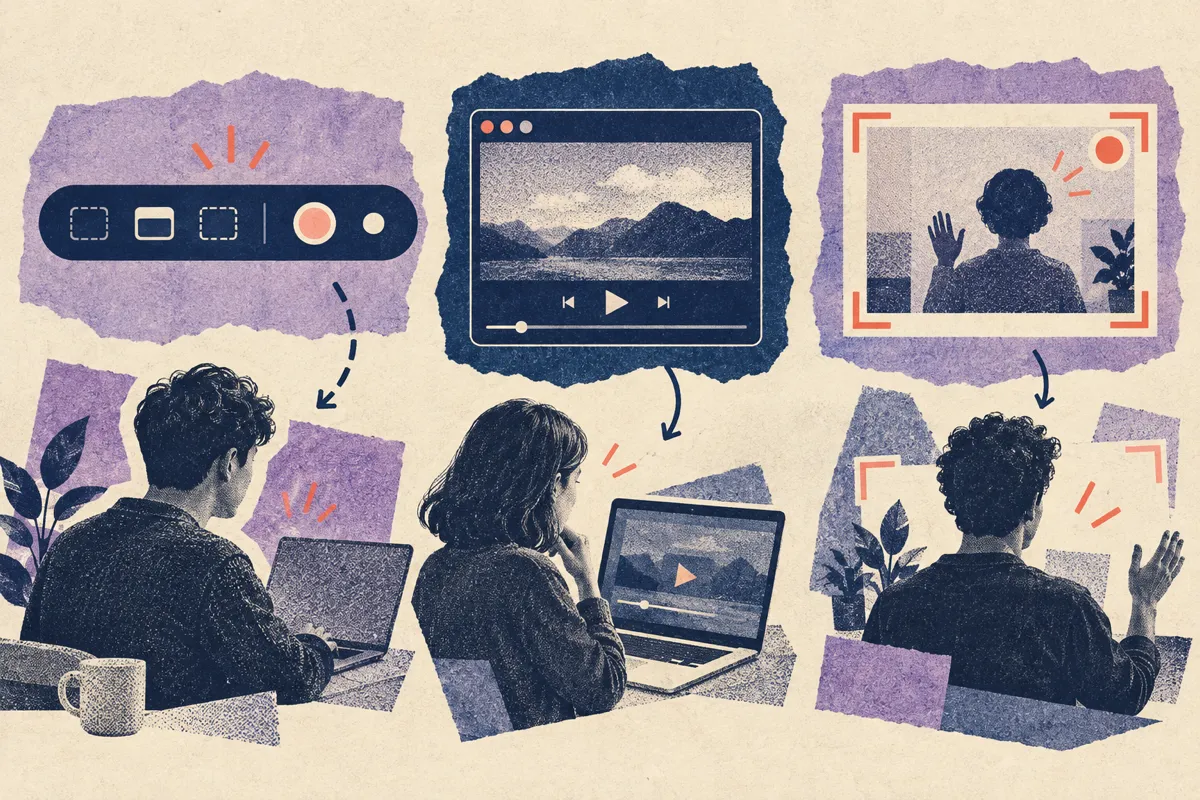
These habits help:
- Record a window, not the whole screen, when only one app matters. Notifications and other windows stay out of shot.
- Turn on Show Mouse Clicks, so viewers can see where you clicked.
- Use a short timer and plan the clicks before you start. Small hesitations get magnified in a recording.
- Keep takes short. A two-minute recording per task is easier to redo than one long session.
Narration is usually the hard part. Talking while clicking leads to restarts, and recording a voiceover afterwards means matching your words to the screen by hand. That's the step Vorec handles. Vorec has its own macOS recorder, and an AI coding agent can drive it for you through the Claude Code plugin; the take stays on your Mac for review before anything is uploaded. Vorec then drafts narration matched to the workflow it captured and generates the voiceover, so you don't record a microphone track. In the editor you can add smooth cursor motion, cursor-follow zoom and click-based auto-zoom, and freeze-sync can hold a frame so an explanation has time to finish. You can also upload a recording you already made with Shift-Command-5, and generate a written step-by-step guide from the same capture.
Vorec starts with a free trial, no credit card required (current allowances are on the pricing page). The trial includes up to 3 projects, and exports carry a watermark. Paid plans are Starter at $9 a month ($86 a year), Pro at $24 a month ($230 a year) and Business at $59 a month ($566 a year). For more options, see our list of the best Mac screen recorders for tutorials and our guide to recording a software demo on Mac without a mic.
Screen recording on other devices
The steps differ on other platforms. We have matching guides for iPhone, Windows 11 and 10, Android, Chromebook and Linux.
FAQ
How do I screen record on a Mac?
Press Shift-Command-5 (macOS Mojave 10.14 or later), choose Record Entire Screen, Record Selected Window or Record Selected Portion, then click Record, or click the window if you chose Record Selected Window. Press Command-Control-Esc to stop. The file is saved to the location set in Options, the desktop by default.
How do I screen record on a Mac with audio?
Open Options in the Screenshot toolbar and choose a microphone to record your voice. To record the Mac's own sound, choose Include System Audio, which Apple lists for macOS 27 Golden Gate or later. You can turn both on together.
Is screen recording on a MacBook different?
No. MacBook Air and MacBook Pro use the same Shift-Command-5 toolbar and the same steps as any other Mac running the same version of macOS.
What is the shortcut to stop screen recording on a Mac?
Command-Control-Esc. You can also click the Stop button in the menu bar.
Where do Mac screen recordings go?
To the desktop by default, as a .mov file named "Screen Recording [date] at [time].mov". You can change the location in Options > Save to.
Can I record just one window on a Mac?
Yes, with Record Selected Window, which Apple lists for macOS Tahoe 26 or later. On older versions, use Record Selected Portion and drag the frame around the window.
Why does my Mac screen recording have no sound?
No microphone is selected, or you're trying to capture the Mac's own sound on a version older than macOS 27 Golden Gate. Check Options before recording.
Do I need QuickTime to screen record on a Mac?
No. Shift-Command-5 opens the Screenshot toolbar directly. On current versions, QuickTime's File > New Screen Recording opens that same toolbar.
Sources: Apple Support, How to record the screen on Mac (published 14 September 2026); macOS User Guide (macOS 27 Golden Gate), Take screenshots or screen recordings on Mac and Control access to screen and system audio recording on Mac; the same guide's Mojave 10.14 and High Sierra versions; Apple Support, Find out which macOS your Mac is using (published 26 October 2026). All checked 27 October 2026.
Want the recording to narrate itself? Record with Vorec, or upload one you already have, and get a narrated tutorial plus a written guide. Start free. Trial includes up to 3 projects; exports carry a watermark.