How to Screen Record on a Chromebook (With Audio, 2026)
Vorec Team · 2026-09-30 · About 7 min read
You need to show someone how to do something on your Chromebook — a teacher explaining an assignment portal, a support agent reproducing a bug, a team lead walking through a new tool. You don't need to install anything. ChromeOS has a screen recorder built in, and it can capture sound too.
This guide covers the built-in tool step by step: how to open it, the three recording modes, how to record with audio, where the file goes, and what to do with the recording afterwards if it's meant to become a tutorial.
Checked on 30 September 2026 against Google's own help page, Take a screenshot or record your screen. ChromeOS updates change menus from time to time, so if something looks different on your device, that page is the reference.
The short answer
- Press Shift + Ctrl + Show windows, or open the menu at the bottom right and select Screen capture.
- In the toolbar at the bottom, select Screen record.
- Choose full screen, partial screen or window.
- Open Settings in the same toolbar to choose audio or turn on the camera.
- Start recording: click anywhere (full screen), drag a region (partial) or pick a window.
- Stop with the Stop recording button at the bottom right, or press Search + Shift + X.
The recording is saved to your Downloads folder by default.
Step 1: Open the Screen capture tool
There are two ways in:
- Keyboard: press Shift + Ctrl + Show windows. On an external keyboard without a Show windows key, Google's page gives Ctrl + Shift + F5 as the alternative.
- Menu: select the time at the bottom right of the screen to open Quick Settings, then select Screen capture.
Either way, a toolbar appears at the bottom of the screen. It does both screenshots and recordings, so make sure Screen record is selected, not Screenshot.
Step 2: Choose what to record
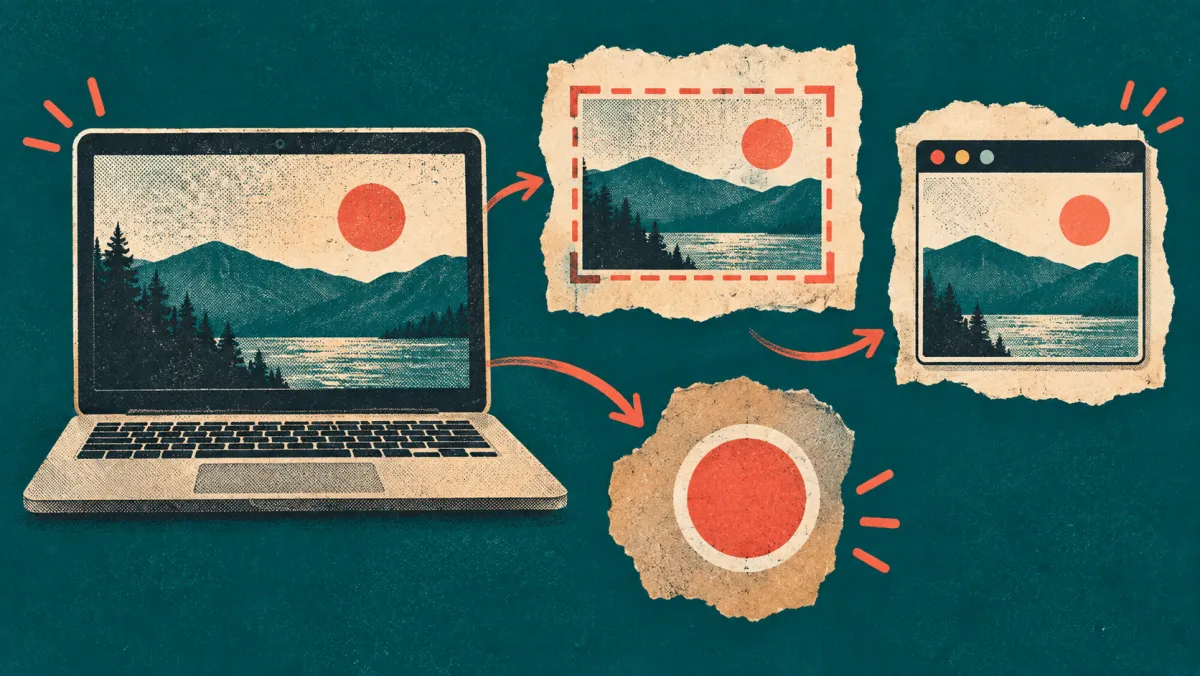
The toolbar gives you three options:
| Mode | What it captures | Best for |
|---|---|---|
| Full screen | Everything on the display | Walkthroughs that move between apps or tabs |
| Partial screen | A rectangle you drag | Focusing on one part of a page, hiding bookmarks and other tabs |
| Window | One app window | Showing one app without the rest of your desktop |
For tutorials, window or partial can be the better choice. Window or partial capture limits the area you record. Close private content and mute notifications before recording, and review the result before sharing. A smaller frame also points the viewer's eye at the part that matters.
Partial screen has one more choice. Google's page says that when you record part of the screen, a drop-down lets you pick Record video, saved as a `.webm` file, or Record GIF, saved as a `.gif`. A GIF doesn't capture audio or camera input, so choose video if you need sound.
Step 3: Record with audio (device, microphone or both)
Before you start, open Settings (the gear) in the capture toolbar. The audio choices are:
- Device audio — sound your Chromebook plays, such as a video or app sounds
- Microphone — your voice
- Device audio and microphone — both at once
So yes: a Chromebook can record sound from the device itself, not only the microphone. Pick the option that matches what you want the viewer to hear.
The same Settings panel has two other switches worth knowing:
- Front Camera — adds your camera feed to the recording.
- Show clicks and keys — displays key combinations, mouse clicks and touch gestures on screen while you record. Google notes that, for privacy, only key combinations with modifier keys are shown — ordinary typing isn't.
For a how-to video, Show clicks and keys is worth turning on. Viewers can see what you clicked and which shortcut you used, instead of guessing from a cursor that suddenly jumps.
Step 4: Start and stop the recording
- Full screen: click anywhere on the screen to start.
- Partial screen: drag to select the area, then start.
- Window: select the window you want to record.
When you're done, select Stop recording at the bottom right, or press Search + Shift + X.
Step 5: Find your recording
Recordings and screenshots are saved to the Downloads folder. Google's page also notes they are automatically copied to your clipboard.
To save them somewhere else, open the capture toolbar again (Shift + Ctrl + Show windows), select Settings, then Select folder. New recordings go to the folder you choose.
Tips for a recording people can actually follow
The built-in recorder captures what's on screen. Whether the result is watchable depends on how you record. A few habits help:
- Close what you don't need. Extra tabs, chat apps and notifications end up in the video.
- Zoom the page in. Larger text is easier to read once the recording is scaled into a video player. Use browser zoom before you start.
- Rehearse once. Do the task without recording first so you don't hunt for buttons on camera.
- Move the pointer slowly. Pause briefly before each click so the viewer can see where you're going.
- Record one task per video. "How to submit an assignment" beats a 20-minute tour of everything.
- Keep it short. If a recording runs long, split it at natural steps.
Recording audio vs. adding narration later
Recording your voice while you click is the fast way, and for a quick message to a colleague it's fine. For a tutorial that other people will watch repeatedly, it has costs:
- You have to talk and operate the screen at the same time, so pauses, "umm"s and mistakes end up in the take.
- A noisy room, a weak laptop microphone or an accent you're self-conscious about can make you avoid recording at all.
- When one sentence is wrong, fixing it can mean recording the whole thing again.
The alternative is to record silently — turn off both the microphone and device audio in Settings — and add narration afterwards. That separates doing the task from explaining it. Our guide to making a tutorial video without a microphone covers the approach in detail.
Turn your Chromebook recording into a narrated tutorial
A silent `.webm` from your Chromebook shows what to do. It doesn't yet explain it. That's where Vorec fits.
Vorec's own recorder is a macOS app, so on a Chromebook you use the other path: open Vorec in your browser and upload the recording you already have. Vorec accepts `.webm` uploads alongside MP4 and MOV. It analyses the recording, drafts narration matched to the workflow on screen and generates the voiceover, so nothing is spoken into a microphone. If a line isn't right, you edit the script and regenerate that segment's voiceover — no re-recording.
In the editor you can add zoom effects, captions and callouts, and freeze-sync can hold a frame to give an explanation time to finish. The same recording can also produce a written step-by-step guide. On eligible plans, narration can be regenerated in supported languages without recording again.
If you record tutorials on other machines too, we have equivalent guides for recording your screen on Windows and recording a software demo on a Mac. For the narration step on its own, see how to add narration to a screen recording.
Troubleshooting
There's no sound in my recording. Check the audio setting in the capture toolbar's Settings before you start. If you recorded a partial-screen GIF, there's no audio by design — choose Record video instead.
I can't find the Show windows key. On an external keyboard without one, Google's page gives Ctrl + Shift + F5. You can also open the tool from Quick Settings → Screen capture.
I can't find my recording. Look in Downloads, or in the folder you selected under Settings → Select folder.
The menus look different from this guide. ChromeOS changes over time. Google's help page is kept up to date; follow it where it differs.
My device is managed by a school or employer and the recorder won't open. Ask your administrator whether screen capture is allowed on your device.
FAQ
How do I screen record on a Chromebook?
Press Shift + Ctrl + Show windows (or select Screen capture in Quick Settings), select Screen record, choose full screen, partial screen or window, and start. Stop with the Stop recording button or Search + Shift + X.
Can a Chromebook screen record with audio?
Yes. In the capture toolbar's Settings you can record device audio, microphone, or both. GIF recordings don't include audio.
Where do Chromebook screen recordings go?
To the Downloads folder by default. You can choose another folder under Settings → Select folder in the capture toolbar.
What format are Chromebook screen recordings?
Google's help page lists `.webm` for video recordings made with the partial-screen option, and `.gif` if you choose Record GIF. Vorec accepts `.webm` uploads if you want to add narration.
Can I add a voiceover to a Chromebook recording afterwards?
Yes. You can record your own voice over it in a video editor, or upload the silent recording to a tool like Vorec that drafts the narration and generates the voiceover for you.
Want your Chromebook recording to narrate itself? Upload the recording to Vorec and get a narrated tutorial plus a written guide — or record with Vorec's macOS app on a Mac. Start free — 7-day trial, 100 credits, no credit card required. Trial includes up to 3 projects; exports carry a watermark. Paid plans start at $9/month.